First look at Sitecore XM Cloud: Part 3 - Creating a XM Cloud environment
In order to create an instance of XM Cloud, you need to create an XM Cloud environment within you "Project" in XM Cloud Deploy.
To get to XM Cloud Deploy, go to https://deploy.sitecorecloud.io/ and pick the project under which you would like to create an environment.
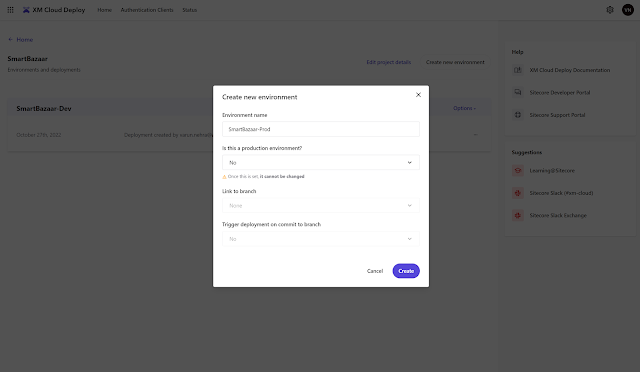
If you have no environments instantiated you will see the following screen. Click on " Create new environment" to get started.
All you need to do is provide a name for your environment and select a few options and click "Create".
Once you click "Create" Sitecore XM Cloud Deploy will "Queue" you deployment:
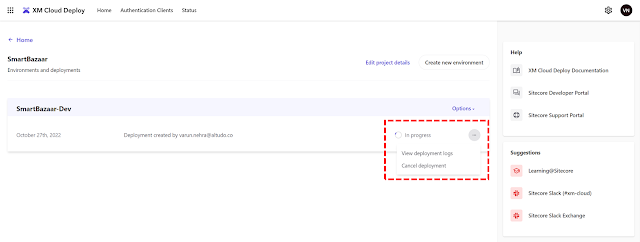
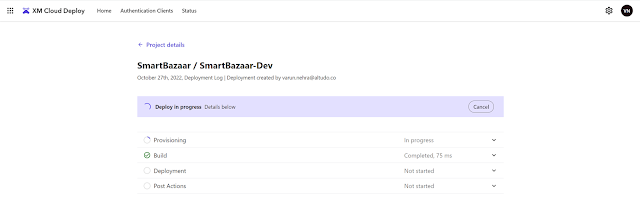
Once the deployment starts, you can see the status change to "In Progress":
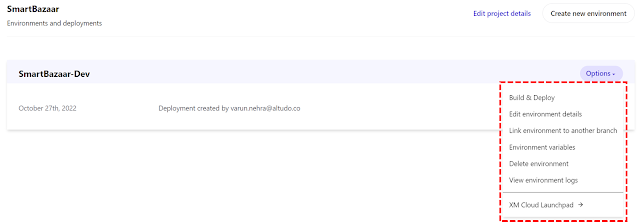
Once the deployment completes, click on "Options" and you will see the following options:
"Build and deploy" and deploy will kick-off the deployment process again.
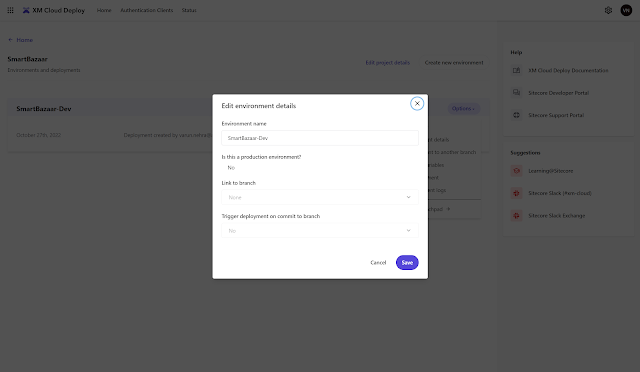
"Edit environment details" allows you to edit only the Environment Name:
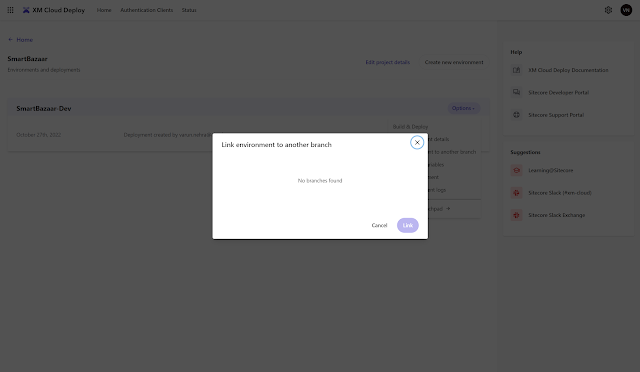
"Link environment to another branch", I assume, will list any other branches available in your repo. I don't have any branches so I see the following:
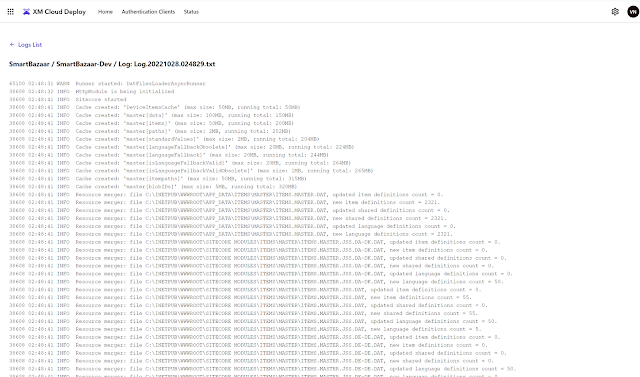
"View environment logs" is an awesome feature that allows you to see your traditional Sitecore logs:
Last but not the least, "XM Cloud Launchpad" launches the shiny new Sitecore XM Cloud launchpad with some awesome apps:
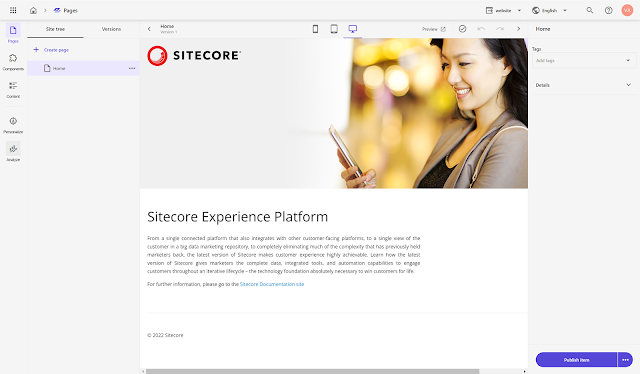
Click on "Pages" to load the all so familiar default Sitecore home page in Sitecore's latest editing interface "Sitecore Pages":
In the part 4, we will see how we can create our first site on our newly deployment environment.









Comments
Post a Comment